(This is my response to the question in the title, posed somewhere on Reddit.)
Filmmaking is a combination of creative writing, audio recording, photography, and motion handling. There are so many things that go into even the simplest decent-seeming video production work that it’d be difficult to say “learn this first” to any one of them. You need all of them or you’ll have glaring deficiencies in your skill set. Even “just a guy who points cameras” benefits from understanding the editing process, how audio works, etc.
That being said, I got into photography as a hobby in 2010 when I purchased my first DSLR, and it was definitely a huge benefit by the time I got the filmmaking itch around 2015. Understanding composition, lighting, and manual controls is absolutely critical to good filmmaking, and you can experiment with all of that in photography. Things like audio can be learned with education and a little bit of experimentation, but composition is difficult to teach since it’s an artistic thing more than a technical one. You can learn about handy shortcuts like the rule of thirds and still take a very poorly composed photo.
When I started offering my video services professionally instead of just making short films in my backyard and office for fun, I had been doing photography for 7+ years and filmmaking as an occasional hobby for about 2 years. The biggest problems I ran into once I started professional work were as follows:
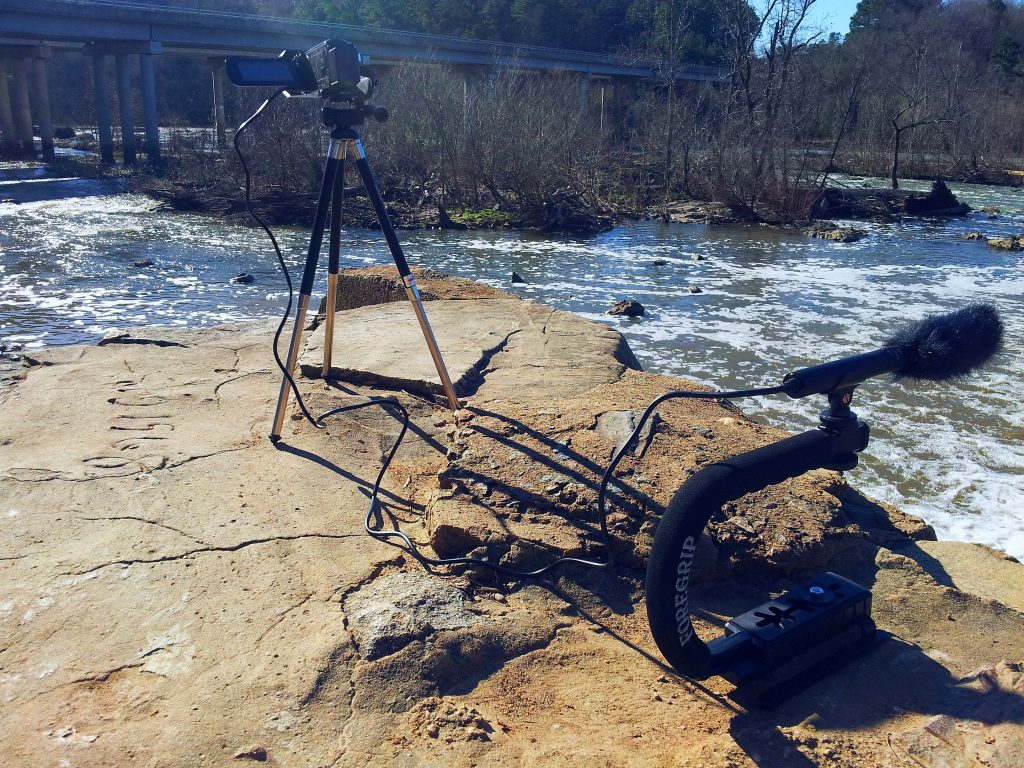
- Audio can require a lot of experimentation to get right, and having good audio gear is extremely important. My Zoom H4n has been the best tool in my toolkit. It was hard dropping $200 on a recorder, but I challenge anyone to get better audio on a budget than my H4n attached to the podium with a SmallRig double-ball arm clamp. Shotgun mics and booms look cool, but are not appropriate for everything.
- Poor gear choices from photography plagued me. I have a Targus (read: real cheap) tripod and a Manfrotto Compact Advanced ($90, pretty nice for photography, not a great choice for any kind of pan/tilt video work) and I had two video cameras. I bought a Magnus VT-350 7ft fluid-head tripod because the pan/tilt motion was so sticky on the other two and I had a severe problem with people walking in front of the camera during a packed event. On another event, I put the wide camera on the Magnus to avoid the people problem and was stuck with my manually operated camera and telephoto lens on a sticky tripod, ruining 70-80% of my close-ups due to the painful jerks when I’d move anything. I ended up buying another VT-350 that night and had it before the other two shows they were doing. Know what gear you need to have and spend the money on good support hardware. The VT-350 is still a cheap tripod and suffers from some issues like low weight and a little flex in the plastic QR plate, but in practice these are not major issues. GET GOOD GEAR.
- I didn’t want to spend $25 on gaffer’s tape. It seemed stupid to pay that much for tape. BUY GAFFER’S TAPE. Pro tip: also buy a small roll of glow-in-the-dark gaffer’s tape and tape it to stuff like your tripod and wires so they’re very visible at events.
- Every hour you spend in pre-production work will save you two or more hours in production and post-production. Anything you can plan ahead will spare you tons of pain. Arrive 90-120 minutes before an event begins to set up so you can test your stuff way before the people show up. Write and revise a script a couple of times before you shoot interviews or a wedding or anything else that requires storytelling; don’t “do it live” because you’ll burn tons of time planning on-the-spot and produce an inferior work product while doing so. Make sure your equipment is good to go the day before a shoot, with charged batteries and empty memory cards and bags all packed and all required wires and adapters accounted for.
- Clients generally don’t know jack about video, and nothing prepares you for dealing with them and their grand dreams or demands. Think of yourself as the guy with cameras and lenses and light kits, and then think of the client as the guy with an overpriced iPhone that loves shooting in that fake bokeh wannabe “portrait mode.” These people might understand videography, but more likely they’ll think that you can do anything they’ve ever seen done on YouTube or cable TV. You’re going to have to explain to them exactly what can and can’t be done, and temper their expectations. No, you don’t have a camera boom like they used at that concert on TV, so those cool sweeping shots aren’t going to happen. Be polite but firm on what you can and can’t do. If they want something more than you have, they’re gonna pay for the required rentals.
- Video is photography with motion. This seems like a silly and obvious point, but it’s a major problem when moving out of photography to video work, especially for someone else. If you do event coverage or sports especially, you’re going to have to track subjects that move in ways you can’t easily predict. You’ll have to learn how to do this one way or another, and it’s really hard at first. The best thing to do is to leave enough room around the subject to allow for your reaction delay without losing them when they move around. A field monitor can be especially handy for sports video. Don’t let your shoots get compromised by a sudden movement. If you need practice, go outside to a place with birds or dragonflies or other fast-moving natural things, and take something telephoto (a camcorder with a nice optical zoom will do), and try to anticipate their movements and keep them in frame as much as possible. It will get easier as you practice it more.
One thing to note is that the lines between photography and videography are blurring. I recently helped a local mayoral candidate with video and photo work, but the only traditional photography involved was the portraiture. All of the photos on the site are really just 4K frame grabs. I shot the 4K footage with the intent of frame-grabbing any needed photos later, so I used a 1/100-1/125 shutter instead of 1/60 to significantly reduce motion blur. It makes the video portions a little less smooth-looking, but it’s worth it for the ability to pull clean 8MP photos out all day long.